Choosing the Right Instruments for Orthopedic Surgery
Selecting an instrument in orthopedic surgery is not a matter of filling a tray with familiar tools. It requires clinical judgment, procedural experience, and careful attention to patient safety. The ideal set should match the anatomy, surgical approach, tissue condition, and fixation method. A delicate hand retractor may protect soft tissue during exposure, while a calibrated depth gauge can reduce uncertainty before screw placement.
Small details matter. A handle that slips inside a wet glove can interrupt concentration. A poorly balanced osteotome may increase fatigue during repeated bone preparation. Sharp edges, loose joints, unclear markings, and difficult sterilization pathways deserve immediate attention. They are easy to overlook.
Surgeon and author Atul Gawande wrote, “We have trained, hired, and awarded people to be cowboys, but it’s pit crews we need.” His observation supports a practical principle: instrument selection should strengthen coordinated teamwork, not individual improvisation. Nurses, surgeons, technicians, and sterilization staff should understand how each instrument is used, checked, passed, cleaned, and stored.
This guide examines those decisions through real operating-room considerations. It compares function, ergonomics, material quality, compatibility, maintenance, and cost. It also acknowledges an uncomfortable truth: the most expensive instrument is not always the safest choice. Evidence, inspection records, and feedback from experienced users should guide the final decision. Sometimes, the best improvement begins with admitting that a familiar tray is no longer suitable.
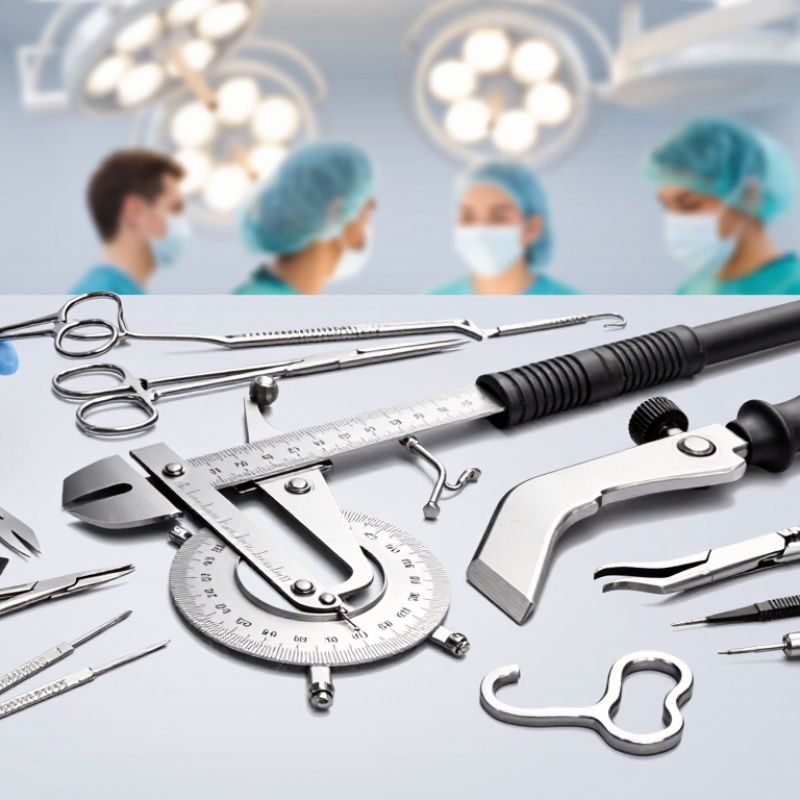
Define the operation before selecting instruments. A total knee replacement, fracture fixation, and spinal decompression require different access, force, and precision. Write down each planned step, from incision and exposure to bone preparation and closure. Then map each step to the instruments it requires. This simple list can reveal missing items before the procedure begins.
Consider the patient and the operating environment, too. Imaging may show a narrow approach or unusual bone shape, which can affect instrument length and angle. A small retractor may improve visibility in a confined space; a calibrated depth gauge can help verify screw placement. Match tools to the procedure’s demands, not just to a standard tray. Keep compatible alternatives available when anatomy or findings differ from expectations.
Check that instruments are intact, correctly sized, and easy to identify. Confirm that reusable items can be cleaned and sterilized according to their instructions, and that powered tools have the right attachments and functioning batteries. Team members should know where critical instruments sit on the tray. Small details matter. A missing driver can interrupt a carefully planned sequence. Preferences also vary among surgeons, and a checklist will not catch every issue; review it with the surgical team and revise it after practical feedback.
Choosing orthopedic instruments begins with the tissue, not the tray. Bone may require a saw, drill, or controlled-impact tool, while delicate soft tissue calls for finer graspers and scissors. Match the instrument’s force and edge to the task. A heavy clamp can damage thin tissue; a delicate one may not hold firm tissue securely. Small details matter.
Anatomy shapes the choice. A narrow approach may limit hand movement, so a compact instrument with a suitable angle can improve access. Near nerves, vessels, or joint surfaces, controlled tips and clear visibility are especially important. Consider the patient’s anatomy and the planned exposure rather than relying only on a standard instrument set. The same tool can feel precise in an open field and awkward through a small incision.
Surgical technique matters, too. A procedure involving fixation needs instruments that support accurate drilling, alignment, and screw placement. For reduction, the team may need tools that hold bone fragments steadily without obstructing imaging or the next step. Check compatibility, function, and sterility before use, and follow the facility’s protocols. Familiarity is useful, but it can also bias selection. I would pause when an instrument seems convenient yet poorly suited to the tissue or approach. Teams should review choices with qualified surgical colleagues and adapt them to the case.
| Tissue or Anatomy | Instrument | Typical Technique or Purpose | Selection Considerations | Key Safety Considerations |
|---|---|---|---|---|
| Cortical bone | Osteotome or bone chisel | Creates or refines a controlled bone cut when used with a mallet. | Choose a blade width and profile suited to the planned cut and the available working space. | Use controlled blows and protect nearby soft tissue; avoid levering against fragile bone or unintended structures. |
| Cancellous bone and small bone edges | Bone rongeur | Removes small bites of bone or trims irregular edges. | Select jaw size and shape based on access, bone thickness, and the amount of bone to be removed. | Take small, controlled bites. Excessive removal can weaken bone or alter the intended anatomy. |
| Bone surface and periosteum | Periosteal elevator | Separates periosteum and adjacent soft tissue from bone to expose the operative field. | Match blade width and curvature to the bone surface and the required exposure. | Keep the working edge against bone where appropriate and limit unnecessary stripping of soft tissue. |
| Fracture fragments or bone segments | Reduction forceps | Grasps and temporarily aligns bone fragments during reduction and fixation. | Choose jaw configuration and reach according to fragment size, access, and the planned fixation method. | Apply only the pressure needed for control; avoid crushing bone, soft tissue, or nearby neurovascular structures. |
| Bone prepared for fixation | Orthopedic drill with drill bit | Creates a hole for a fixation device or other procedure-specific purpose. | Use a bit type and diameter compatible with the planned technique and the required hole dimensions. | Control direction and depth. Use appropriate cooling and follow the instrument and procedure protocols to reduce thermal injury. |
| Long-bone canal | Flexible or rigid reamer | Enlarges a medullary canal for procedures such as intramedullary fixation. | Choose the reamer system and size progression according to the anatomy and operative plan. | Advance carefully and monitor resistance; excessive force or heat can injure bone and surrounding structures. |
| Bone requiring a defined cut | Oscillating bone saw | Performs a planned osteotomy or other controlled bone cut. | Match blade shape and working length to the cut geometry and available access. | Maintain a stable cutting path and protect adjacent tissue; avoid prolonged contact that may generate heat. |
| Bone cavity or joint surface | Bone curette | Scrapes or removes tissue from a cavity or defined bony area. | Select a tip shape and size that fit the target area while allowing controlled access. | Use deliberate movements and avoid scraping beyond the intended boundary. |
| Soft tissue around the operative site | Hand-held or self-retaining retractor | Moves soft tissue aside to improve visualization and instrument access. | Choose blade depth, width, and retractor style to fit the incision and anatomy. | Use gentle, distributed pressure and reassess tissue tension during the procedure to reduce compression injury. |
| Tendon or ligament during repair | Tendon grasper or atraumatic forceps | Holds and manipulates tendon or ligament while limiting direct damage. | Choose an atraumatic tip and an appropriate jaw size for the tissue and required control. | Avoid excessive clamping or repeated crushing; handle tissue only as much as the technique requires. |
Note: Instrument choice depends on the specific procedure, patient anatomy, tissue condition, and surgeon preference. This table is general educational information and does not replace surgical training, device instructions, or local protocols.
How to Choose the Right Instruments for Orthopedic Surgery?
Material, design, precision, and ergonomics all affect how an orthopedic instrument performs in the operating room. Surgical stainless steel is widely used for its strength and corrosion resistance, but material alone does not guarantee durability. Check the instrument’s intended use, finish, joint construction, and compatibility with the facility’s validated cleaning and sterilization process. Hinges should move smoothly; gripping surfaces should feel secure, not sharp or slippery. Precision matters. A small mismatch in a cutting or alignment instrument can complicate a delicate step.
Ergonomics deserves equal attention. In a 2018 systematic review in The American Journal of Surgery, researchers reported work-related musculoskeletal symptoms among surgeons, though estimates varied across studies. That is a practical reminder: weight, handle diameter, balance, and grip texture can affect comfort during long procedures. Assess instruments in gloved hands, ideally through realistic task simulations. A tool that feels fine for one minute may feel different after repeated use. Selection is not always obvious; preferences can be subjective, and local feedback is worth revisiting.
Tips: Compare instruments under clinical lighting and with the gloves your team uses. Check alignment, grip, and movement before purchase. Record staff feedback after trials. Do not rely on appearance alone. A polished finish can still hide awkward balance or a stiff joint.
Choosing orthopedic instruments requires more than checking metal quality or catalog dimensions.
Sterilization evidence matters. The WHO Global Guidelines for the Prevention of Surgical Site Infection report that surgical site infections affect about 11% of surgical patients in low- and middle-income countries. That figure makes every hinge, cannula, and retractor relevant. Select instruments with validated cleaning instructions, accessible surfaces, and sterilization parameters supported by the manufacturer. A narrow lumen may look clean yet retain tissue. Visual inspection alone is not enough.
Maintenance should follow documented inspection intervals, not personal habit. Check jaw alignment, ratchets, cutting edges, insulation, corrosion, and loose components under strong light. The CDC Guideline for Disinfection and Sterilization classifies instruments entering sterile tissue as critical items requiring sterilization. Follow AAMI ST79 principles, including chemical and biological monitoring, load records, and traceability. Small failures matter. A damaged seal can compromise packaging before the tray reaches the operating room.
Safety also depends on compatibility. Confirm instrument geometry, implant interfaces, accessories, sterilizer limitations, and intended surgical technique. Mixing components from different systems may create poor fit or unexpected force. Ask the operating team to test the tray before surgery. No checklist is perfect. Human oversight still matters. In practice, teams sometimes approve familiar instruments too quickly, especially during urgent scheduling. That habit deserves review, not excuses. Keep rejected items isolated, document the reason, and reassess them after repair. WHO data and CDC guidance both support a simple principle: reliable outcomes begin before the incision.
Choosing orthopedic instruments requires more than comparing catalogue prices. Quality should be assessed through material strength, joint precision, corrosion resistance, and validated cleaning instructions. ISO 13485 certification supports a controlled manufacturing system, but it does not replace hands-on inspection. Check ratchets under bright light. Test alignment before surgery. A slightly loose clamp can waste valuable operating-room time.
Availability matters when a procedure changes unexpectedly. Keep essential alternatives in the hospital, not only in a distributor’s warehouse. The WHO Global Guidelines for the Prevention of Surgical Site Infection reports that surgical-site infections affect about 11% of patients in low- and middle-income countries. Reliable sterilization, traceability, and rapid replacement therefore deserve serious weight. Cost should include maintenance, repairs, sterilization labor, packaging, and discarded single-use components. The cheapest tray may become expensive after repeated processing. That is easy to underestimate.
Tips: Build a procedure-specific checklist with surgeons, nurses, sterile-processing staff, and procurement officers. Compare instrument performance during simulated use, including glove grip and visibility around the wound. Review operating-room space, table layout, imaging access, and tray weight. AORN’s Guidelines for Perioperative Practice emphasize standardized preparation and safe instrument management. Still, local workflow matters. A perfect set on paper may slow a crowded room. Review outcomes after several cases, record missing or damaged items, and revise the set honestly. Mistakes are useful data.
Comparison of quality, availability, cost efficiency, and operating-room workflow fit
Scores use a practical 1–5 procurement scale, where 5 represents the strongest performance. Cost efficiency reflects expected value over the instrument life cycle rather than the lowest purchase price. Reusable stainless-steel instruments generally offer strong durability and availability, while single-use and powered instruments may improve convenience but require closer review of supply continuity, maintenance, sterilization, and total operating-room costs.